||
For those starting out in tennis, getting to know the different types of strokes, stances, terms, grips, etc., can feel overwhelming. Not to worry, we have your back! In our new teaching series titled, “The Beginner’s Guide” (fitting, right?) we’ve enlisted some of Canada’s top instructors to provide us with their expert steps and hot tips on how to approach the various basics of tennis. A free lesson? Pretty sweet, right?
Our Instructor: Ralph Platz

Background: Ralph Platz has been involved in tennis for the majority of his life as both a player and coach. He joined Tennis Canada’s National Training Centre in the fall of 2008 and currently works with the country’s top junior girls, including Eugenie Bouchard.
Step 1: Adjust your stance!
As with all strokes, a player should start from the ground up, according to Platz. In doing so, while standing sideways, look down and ensure your feet are approximately shoulder width apart. Then turn your front foot (left foot for right-handers, right foot for left-handers) so it is pointed towards the net post cross-court (right net post for right-handers, left net post for left-handers).
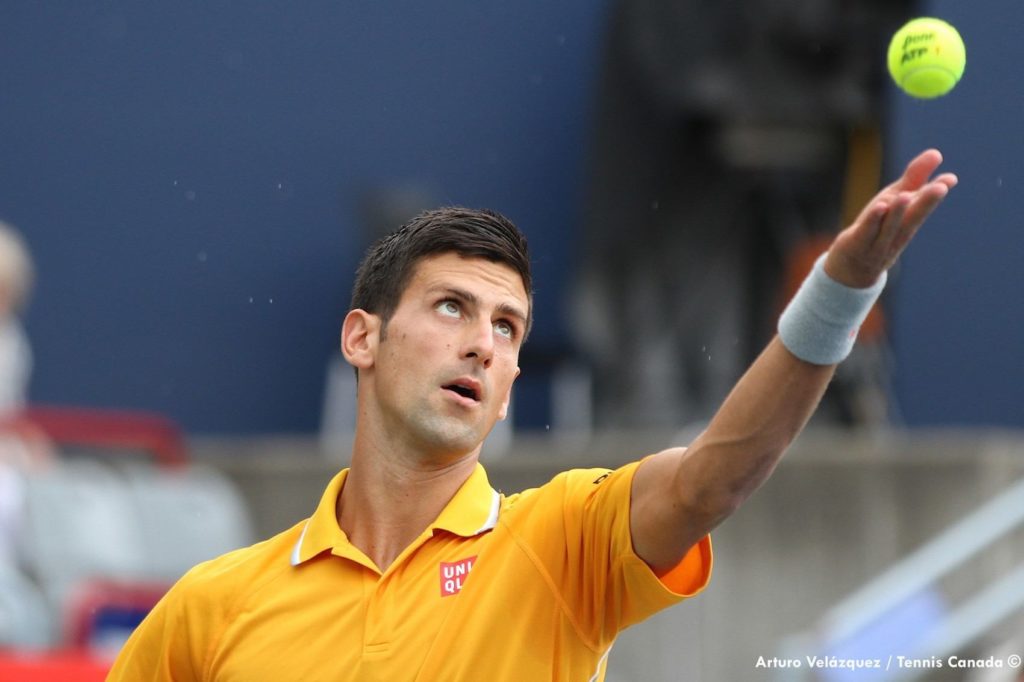
Step 2: Toss the ball!
Platz says a consistent toss equals a consistent serve! In other words, a toss is key! To get the hang of it he says that a right-handed player can practice their toss by placing the butt end of their racquet on the ground in front of their left foot with their racquet pointed at one o’clock. Keeping their left arm (tossing arm) straight and thinking of their shoulder as a hinge (it’s important for a consistent toss to keep the elbow straight) the player can toss their ball up so that it lands on the face of their racquet. The height of the toss should be slightly higher than the player can reach with the racquet in hand at full extension. And again, always envision yourself tossing the ball to one o’clock. If you’re a lefty, practice all of the above but switch your feet and arms.
Step 3: Practice throwing balls!
A service motion is very much the same as a throwing motion, says Platz; essentially you are throwing your racquet at the ball. To practice a smooth motion, he suggests taking two tennis balls, one in each hand. (Keep in mind your already perfected stance and your one o’clock toss!) Toss your first ball at one o’clock and throw the second ball at the first ball. Try to throw the ball when your toss reaches its peak. Keep working at it until you can make contact multiple times!
Step 4: Now, throw a racquet. Seriously!
Next practice drill: Throw an old racquet! (Obviously he suggests that we do this safely in a people-free zone.) When throwing an old racquet, he reminds us to throw the racquet up to the sky and not forwards and to ensure we are using the proper grip: a continental or eastern grip should be used. He says to avoid throwing your racquet with a Western or semi Western grip! (In layman’s terms: throw your racquet like a tomahawk not like a frypan!) Then, graduate to throwing your racquet at the ball. He encourages us not to worry if you’re not hitting the ball at first and to focus on the smooth, serving, throwing motion. Perfect this, and Platz says perfecting serving will become much easier.
Step 5: Keep your eye on the ball!
A wise man once said keep your eye on the ball. Platz jokes that he could have been referring to a variety of things, but in this particular case by watching yourself make contact with the ball, it will keep your head up and keep you standing tall. It will also encourage you to make impact with that ball at full height.
Class dismissed! Go on, what are you waiting for? Pick up that racquet!
Bonus Class: Video Demonstrations
Some hot tips on how to get your serve started:
Tweaking a few more of the basics:
Watch Serena Williams nail it in slow motion: